SquidFPV Frames

Hi, welcome to my store!
Here you will find every obscure machination I design that can be considered good enough to share.
More about me at nmaggioni.xyz. Feel free to reach out for any question!
ZSplit
Item List
-
 ZSplit - Top Plate (4mm)
Quantity :1
ZSplit - Top Plate (4mm)
Quantity :1
-
 ZSplit - Bottom Plate (4mm)
Quantity :1
ZSplit - Bottom Plate (4mm)
Quantity :1
-
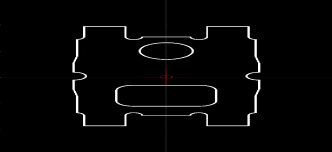 ZSplit - Back Plate
Quantity :1
ZSplit - Back Plate
Quantity :1
-
 ZSplit - Front Plate (1x)
Quantity :2
ZSplit - Front Plate (1x)
Quantity :2
-
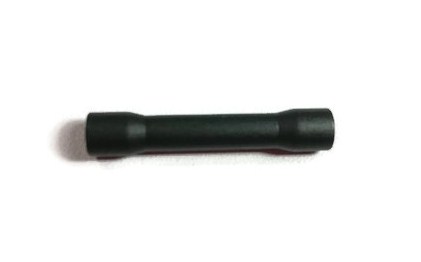 30mm M3 F/F Alumi Tapped Stepped Standoff Black Anodized 6.3mm O.D.
Quantity :4
30mm M3 F/F Alumi Tapped Stepped Standoff Black Anodized 6.3mm O.D.
Quantity :4
-
 8mm M3 Steel Button Head Bolt Black Anodized
Quantity :12
8mm M3 Steel Button Head Bolt Black Anodized
Quantity :12
Description
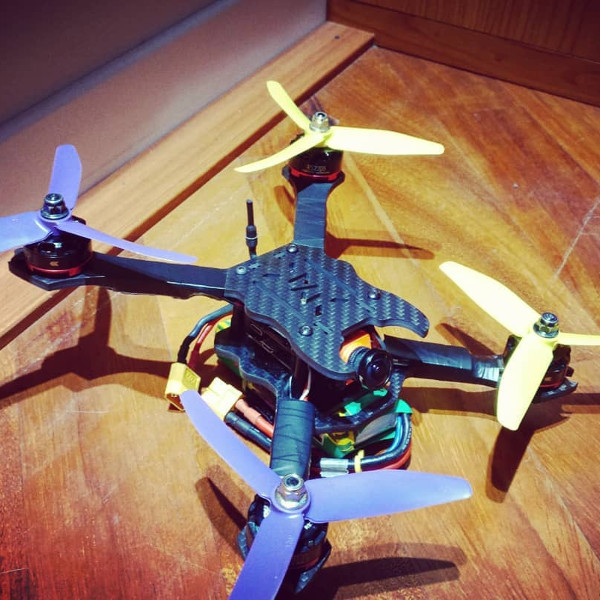
ZSplit Kit
Specs
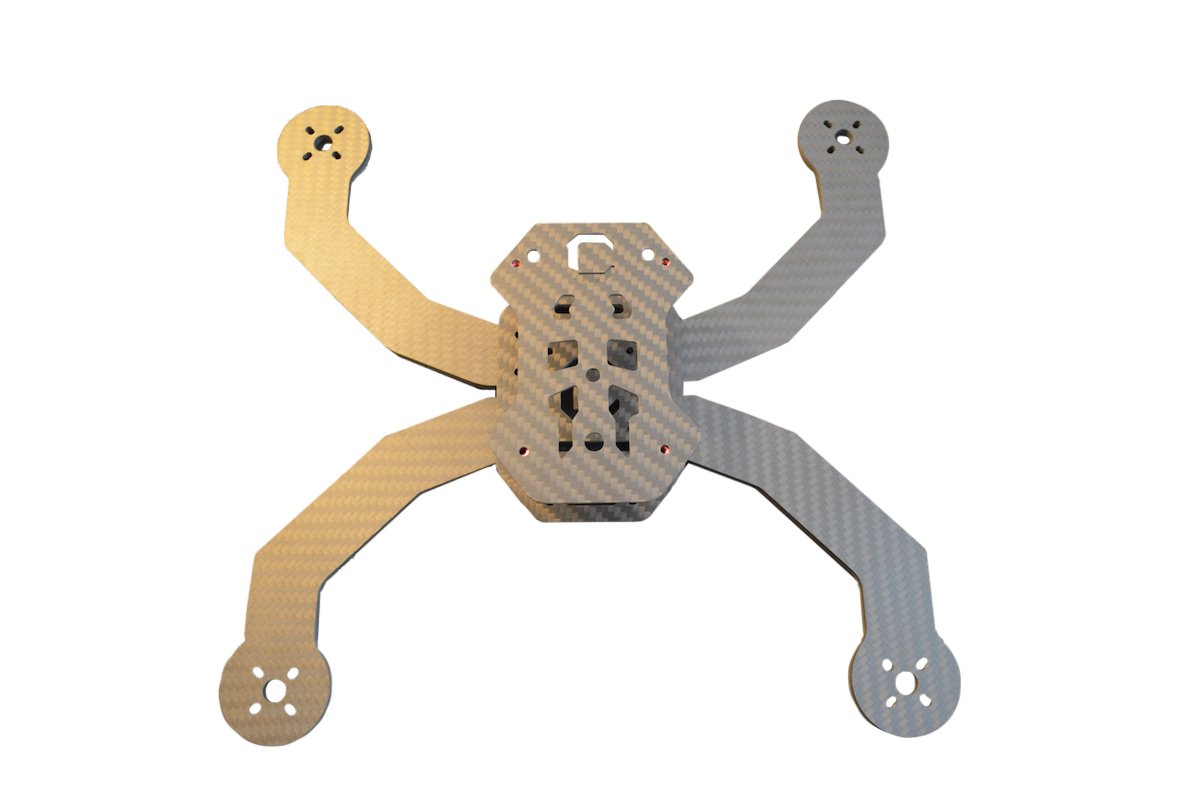
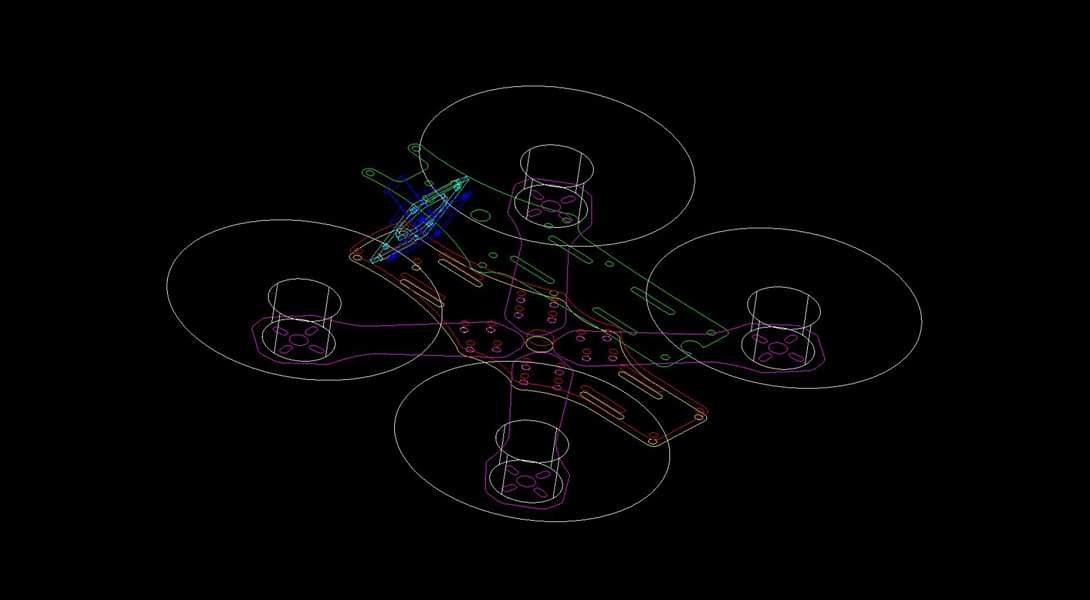
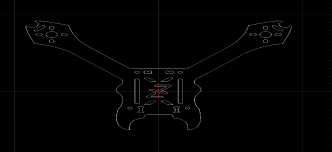
• Symmetric X shape with 210mm base (motor shaft to motor shaft).
• Camera mounting holes specifically made for RunCam Split's dimensions.
• Mounting holes for 16/19, 16/16 and 19/19 motors. Should fit all 22xx and 23xx motors.
• Top and bottom plate thickness: 4mm
• Back and front plates thickness: 2mm
• Arms width: 14mm
• Weight (h/w included): 94g
Notes
Hexagonal cutouts
The hex-shaped cutouts at the end of the arms are actually the size of an M5 bolt! This means that you can use a ZSplit frame plate as a quick/emergency wrench to install or remove props on another model, or use a spare plate for handling them on the ZSplit itself!
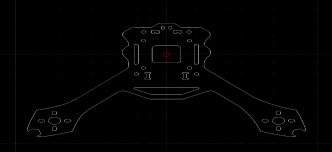
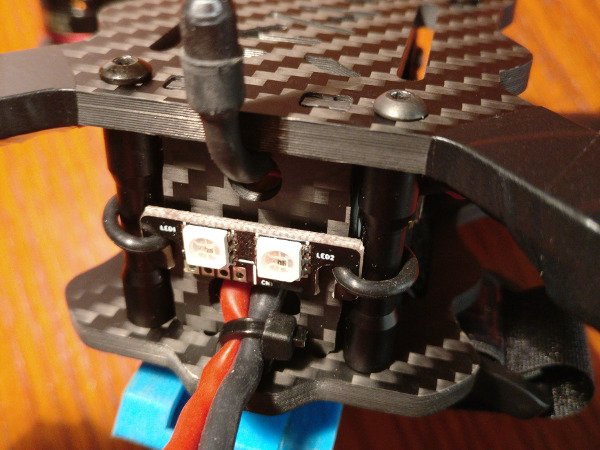
Back plate slots
The two small circles at the middle of the back plate's sides are there to keep Armattan's Universal LEDs in place. It is a convenient solution for adding LEDs to your frame of you feel like it, but without sacrificing the structural integrity of any component.
Top plate slots
The two longitudinal slots on the top plate of the frame are meant for attaching everything that you might need to.
Want to carry a GoPro, a Mobius, a RunCam 2/3 or any other HD camera instead of a RunCam Split? No problem. Tired of having the battery on the bottom and want to take a chance at having it on the top? No worries - just strap it down tightly maybe, upper props are quite close in that case. Want to go crazy and attach a balloon on your quad before getting in a race with your friends? Who am I to judge? Thinking about this, I'd actually endorse the idea...
Screws
The kit includes twelve screws. Eight of them are needed for the standoffs, and the remaining four can be used for screwing down nylon standoffs of the FC's stack. In addition to those you'll need four (or six) short M2 screws to fix the camera to the front plates: they are usually included in the RunCam Split's packaging.
3D Models
Here are some freely downloadable & 3D-printable models for your frame:
• Battery spacer: https://www.thingiverse.com/thing:2770644
• Arm protector: https://www.thingiverse.com/thing:2770646
• Spare front plate: https://www.thingiverse.com/thing:2771784
Images
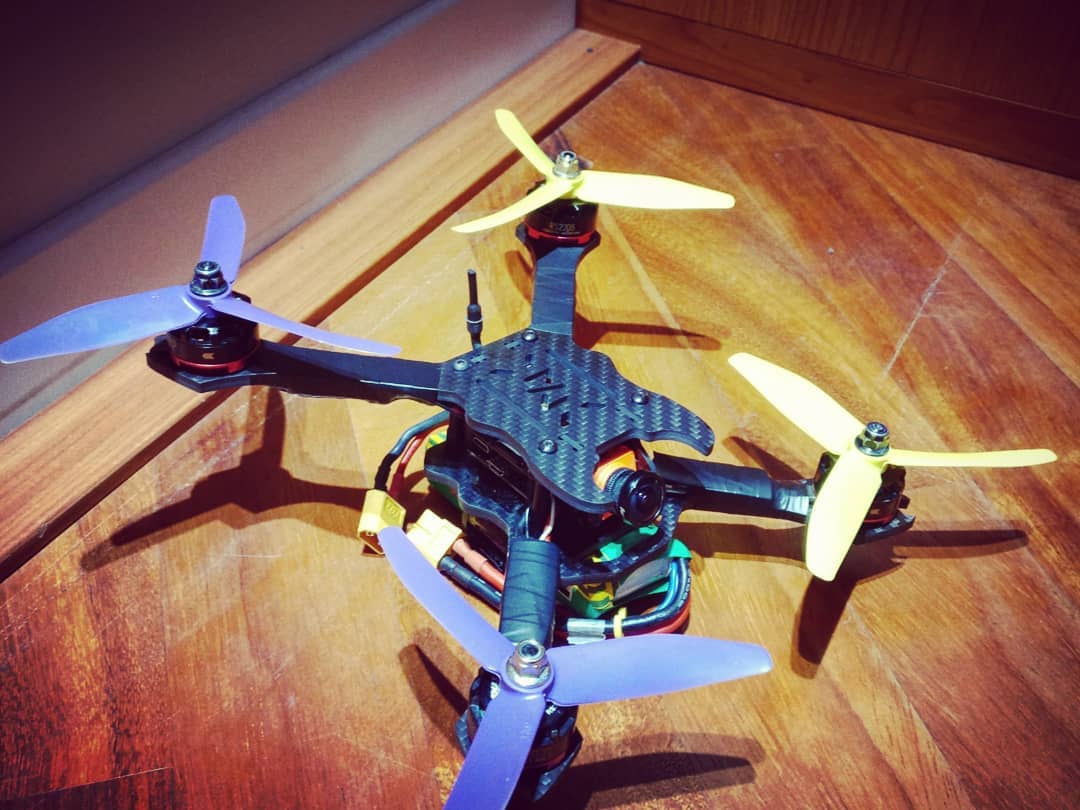
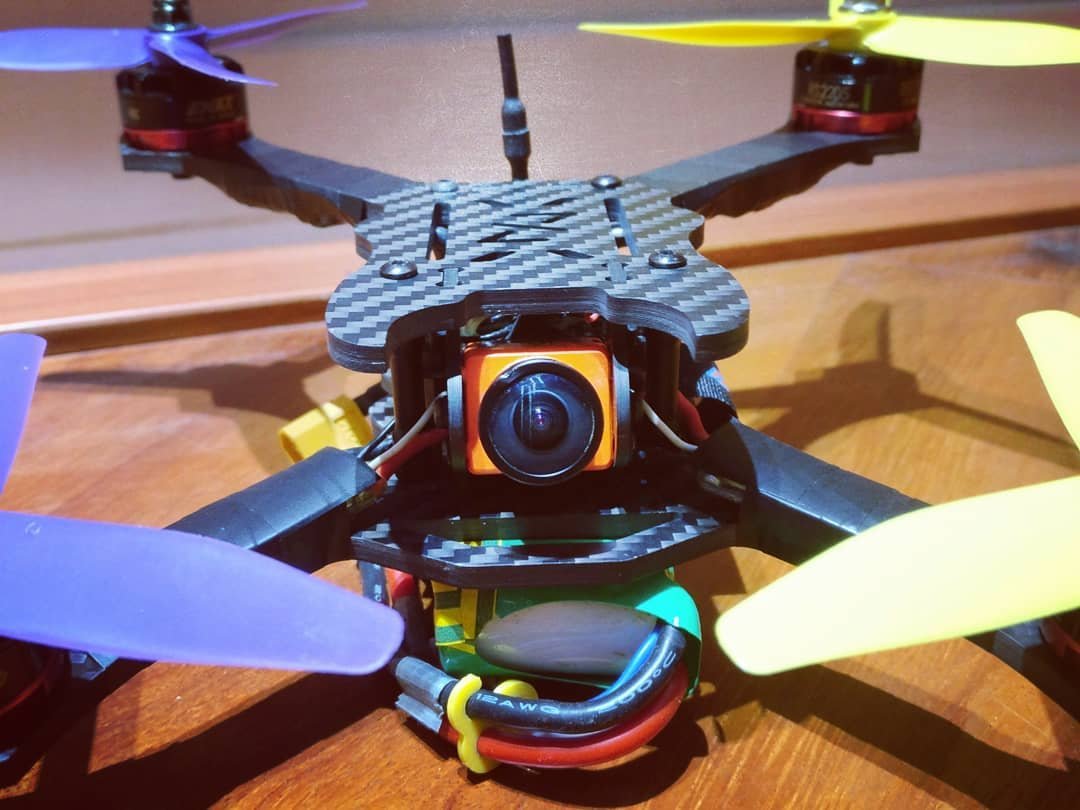
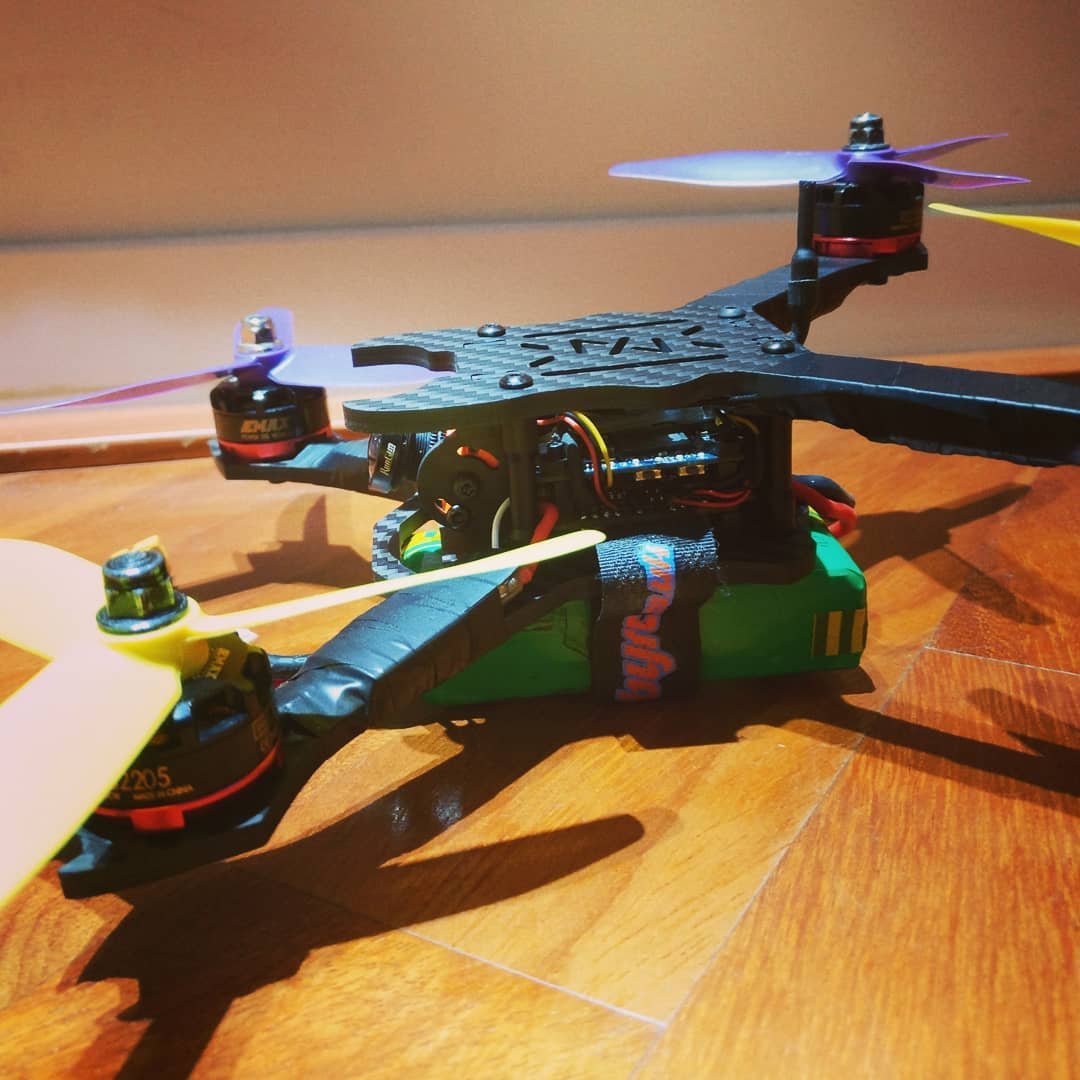
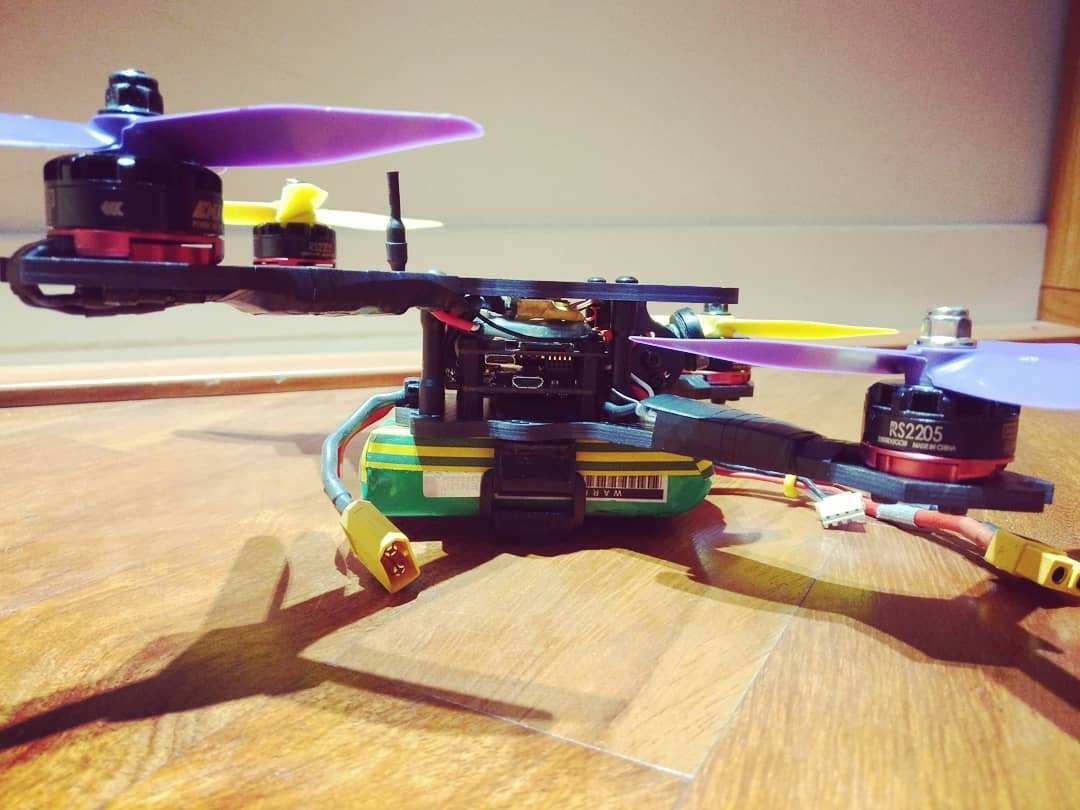
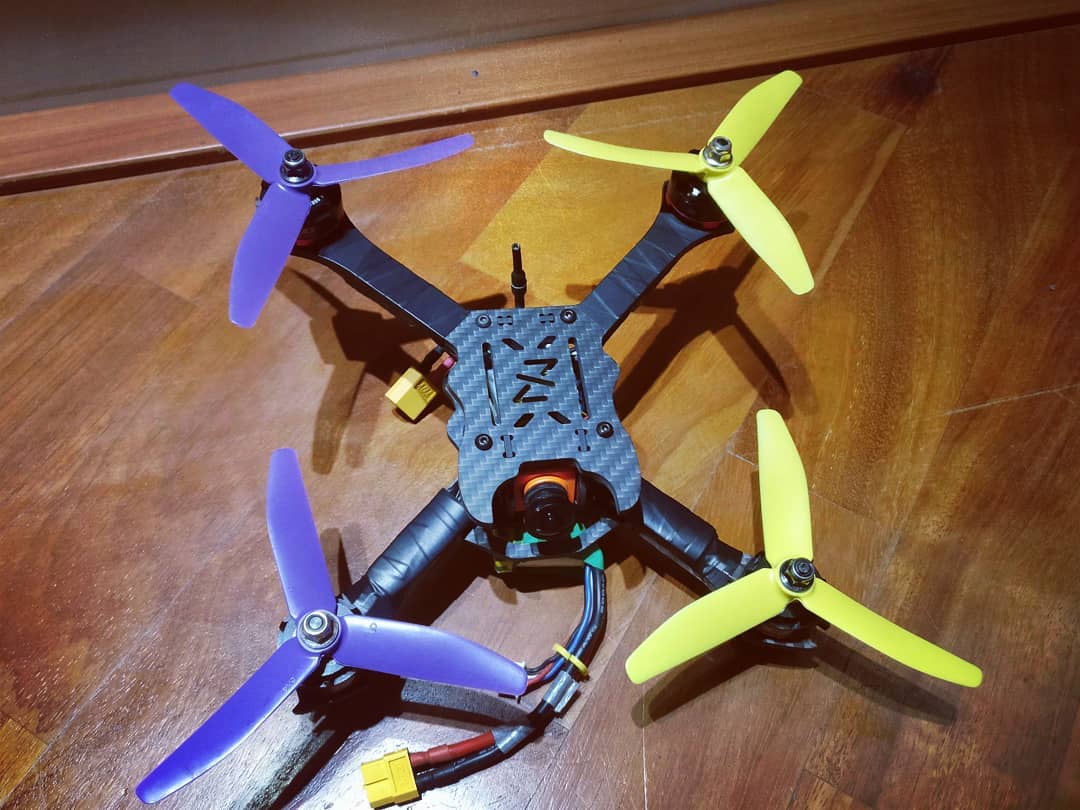
Note: the images above depict the old camera mount plates. The new ones place the camera higher against the top plate, allowing more uptilt and unobstructed view.
Additional Information
Suggested components for this build
The following are just link to manufacturers' websites, you are encouraged to find the best deals in your favorite shop.
• 22xx motors (possibly with long wires): Emax RS2205S
• 30A ESCs (possibly 14mm wide): Racerstar 30A v2 with DSHOT600 support
• AIO Flight Controller: Kakute F4 AIO
• Camera: RunCam Split 1 or RunCam Split 2
• VTX: Matek 5.8GHz VTX-HV w/BFCMS control
• Battery: Turnigy Graphene 4S 1300mAh 65C
• TX and RX: FrSky Taranis QX 7 and FrSky R-XSR
• 5" props: DAL T5045 Cyclone Tri-Blade or HQ 5x4x3 (Glass Fiber composite)??
• LEDs (optional): Armattan Universal LED tail light
Tips for assembling the frame
You should start from the bottom plate: screw the motors in and route their cables. Decide where your ESCs will be positioned and cut & solder the motors' cables.
Repeat for the top plate (on which the ESCs are meant to go on the bottom of the arms) but be sure to leave generous slack for the wires: this way you'll be able to do maintenance of your electronics by unscrewing the top plate and lifting it, placing it vertically behind the back plate in a sort of an L shape. The top plate will behave like a bonnet and let you work freely while it holds the rest of the frame straight.
You have two options to route the upper motors' cables, depending on their rigidity and thickness near the motor itself: if they are flexible enough you can route them in the outer hexagon-shaped cutout, applying slight tension when soldering them to the ESCs to prevent bulging of the corners at the arms' ends. Alternatively you could bend them on the inner/outer side of the upper arms (depending on your props rotation, place them the opposite side from the one prone to prop strikes) and let them head for the FC via the underside of the arms themselves.
Review Section ( Total Review:0 )
No Review Found